
Natural beauty for your favorite space

10 Tips for Choosing Tri Proof Ceiling Lights

Choosing Tri-Proof Ceiling Lights is not simply a matter of selecting the brightest fixture. In warehouses, parking garages, workshops, and food-processing areas, moisture, dust, vibration, and long operating hours quickly expose weak designs. A light may look impressive in a showroom, yet flicker above a loading bay or collect water near a washdown zone. Practical selection requires attention to protection ratings, optical performance, installation conditions, and maintenance access.

Industry data supports careful evaluation. The International Energy Agency’s Energy Efficiency 2023 report identifies lighting as responsible for approximately 15% of global electricity consumption. The U.S. Department of Energy also reports that LED products can use at least 75% less energy and last up to 25 times longer than incandescent lighting. These figures do not guarantee every LED fixture will perform well. Thermal management, driver quality, lumen maintenance, and ambient temperature still matter. That distinction is often overlooked.

This guide presents 10 practical tips for choosing Tri-Proof Ceiling Lights with greater confidence. It considers IP ratings under IEC 60529, suitable color temperature, glare control, emergency options, warranty terms, and total ownership cost. A higher wattage is not automatically better. Nor is a low price truly economical when repeated replacements interrupt production. The most reliable decision balances measured performance with the room’s real conditions. Some recommendations may need adjustment after an on-site inspection. That is the point. Good lighting decisions remain evidence-based, but never careless about context.
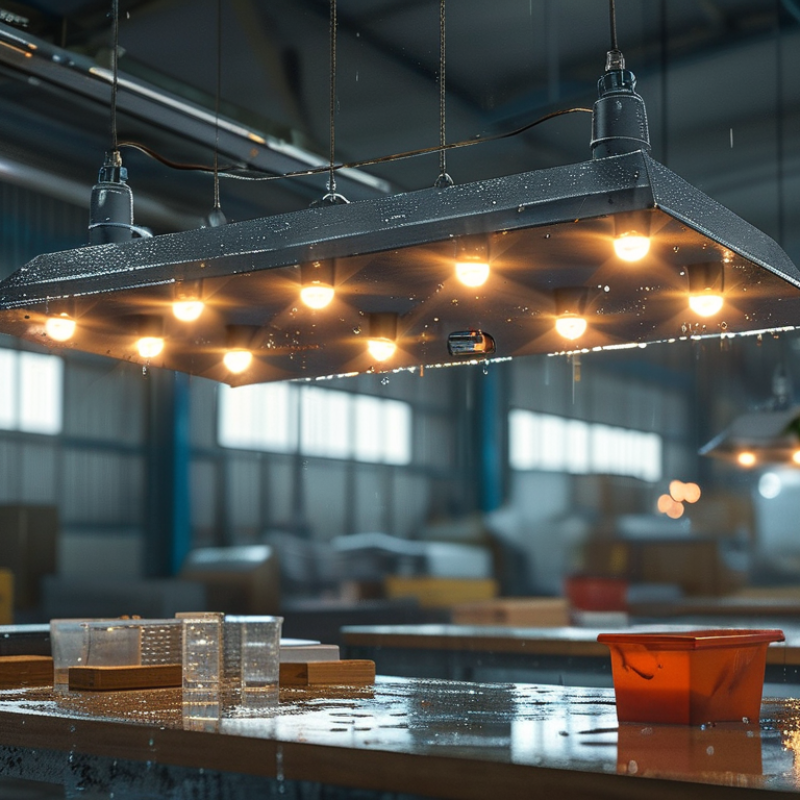
10 Tips for Choosing Tri Proof Ceiling Lights

Define the Lighting Needs of Your Space

Before choosing tri-proof ceiling lights, define what the space must support. A warehouse aisle needs clear, even visibility, while a food preparation area needs brighter light with minimal shadows. Measure the room, ceiling height, working surfaces, and existing light levels. I once selected fixtures by wattage alone, and the corners remained too dim. That mistake taught me to study the whole room, not just the product label.

Tip: Match brightness to the task. Use lumens, not watts, as the main comparison. A rough target may range from 100–200 lux for storage areas and 300–500 lux for detailed work. These figures are practical starting points, not fixed rules. Wall color, shelving, dust, and daylight can change the result. Test one fixture when possible.

Tip: Consider the environment before installation. Wet, dusty, or frequently washed spaces need suitable ingress protection, such as an appropriate IP rating. Check operating temperature, mounting height, beam spread, and emergency requirements with a qualified electrician. Light color also affects comfort; neutral white often supports accurate work without feeling harsh. I prefer reviewing a lighting plan after installation, because real shadows can reveal errors that drawings miss.

Check Waterproof, Dustproof, and Impact-Resistance Ratings

10 Tips for Choosing Tri Proof Ceiling Lights

When choosing tri-proof ceiling lights, check their IP rating before comparing brightness or price. IP65 means the housing resists dust and water jets. IP66 offers stronger protection against powerful water jets. For wash-down areas, IP66 is usually the safer choice. IP ratings do not prove resistance to impact or chemicals. Read the complete test report.

Impact protection uses the IK scale. IK08 can withstand a 5-joule impact, while IK10 handles 20 joules. That difference matters in workshops, warehouses, and sports facilities. A light near moving equipment needs stronger protection than one in a quiet corridor. Inspect the diffuser, end caps, and mounting clips. Weak fittings can fail, even when the rating looks impressive. Look closely.

In practical installations, dust often gathers around cable entries and damaged seals. Check whether the product includes sealed connectors and suitable cable glands. Confirm that the stated rating applies after installation, not only in laboratory conditions. Ask for independent certification, test standards, and operating temperature limits. A cold storage room may expose poor materials quickly. I have seen installers trust an IP number and overlook condensation control. That was a costly lesson. Also consider cleaning chemicals, vibration, and ceiling movement. Ratings help, but they cannot replace a site inspection and careful installation.

Compare Brightness, Color Temperature, and Energy Efficiency

10 Tips for Choosing Tri Proof Ceiling Lights

When choosing tri proof ceiling lights, compare brightness before judging the fixture by appearance. Tip 1: Check lumens, not wattage. Tip 2: Match output to room size and ceiling height. A workshop may need stronger light than a storage corridor. Tip 3: Examine the beam angle. Wide beams reduce dark patches across long ceilings. Tip 4: Use a lux meter when possible. I have found that visual estimates can be misleading.

Color temperature changes how a space feels and functions. Tip 5: Choose 4000K for balanced workplace lighting. Tip 6: Consider 5000K for detailed tasks, but test it first. Cooler light can feel harsh after several hours. Tip 7: Check the color rendering index for accurate surface colors. Tip 8: Avoid fixtures with visible flicker. Phone-camera tests help, though they are not perfect. That is worth remembering.

Energy efficiency requires more than reading the wattage label. Tip 9: Compare lumens per watt, including the driver’s performance. Tip 10: Look for compatible sensors or dimming controls in low-traffic areas. They can reduce wasted electricity, but poor settings may cause frequent switching. Confirm the fixture’s sealed construction, heat management, and maintenance access. In damp or dusty rooms, protection ratings matter. I once focused too heavily on efficiency and overlooked glare. The result looked economical, yet workers found the light tiring. A small trial installation can reveal problems that product specifications miss.

10 Tips for Choosing Tri-Proof Ceiling Lights: Brightness, Color Temperature, and Energy Efficiency

Compare typical tri-proof light specifications before choosing a fixture. Higher lumens provide more brightness, color temperature affects the visual atmosphere, and higher lumens per watt indicate better energy efficiency. The values shown are representative specifications for general commercial and industrial lighting applications.

Evaluate Installation Methods, Materials, and Maintenance Needs

10 Tips for Choosing Tri Proof Ceiling Lights

Evaluate Installation Methods, Materials, and Maintenance Needs

Before choosing a tri proof ceiling light, inspect the installation area carefully. Measure the ceiling space, cable route, and mounting surface. A surface-mounted model suits concrete ceilings and exposed service areas. Suspended installation may work better in high workshops. Check whether brackets, anchors, and wiring accessories are included. They often are not. Confirm the input voltage and connection method with a qualified electrician. This prevents delays and unsafe modifications.

Material selection affects long-term reliability. Look for a sealed housing with strong resistance to dust and moisture. Polycarbonate can resist impact, while aluminum may improve heat dissipation. Check the sealing gasket, diffuser, and clips for consistent construction. A weak diffuser can yellow or crack after repeated temperature changes. In humid rooms, verify the suitable ingress protection rating. Do not rely on appearance alone. Test samples under real conditions when possible.

Material selection affects long-term reliability. Look for a sealed housing with strong resistance to dust and moisture.

Maintenance should be planned before installation. Choose a design with an accessible connection point and a wipe-clean diffuser. Leave enough clearance for inspection and cleaning. Ask whether the light source or driver can be replaced separately. If replacement requires removing the entire fitting, labor costs may rise.

I once selected a sealed unit that looked ideal, but its clips became difficult to open. That oversight changed my view of “maintenance-free” claims.

Record installation dates and inspect seals periodically. Small checks prevent larger failures.

Review Lifespan, Certifications, Warranty, and Total Cost

10 Tips for Choosing Tri Proof Ceiling Lights

Review lifespan before comparing prices. The U.S. Department of Energy reports that quality LED systems commonly reach 25,000–50,000 hours. However, rated life is not guaranteed brightness. Check LM-80 test data and IES TM-21 projections for LED performance. Tip 1: Ask for L70 results, not only “long life.” Tip 2: Confirm the driver’s expected life. It may fail before the LEDs. Tip 3: Choose IP65 or higher for dusty, wet areas, verified under IEC 60529. Small details matter.

Certifications show tested safety, not perfect field performance. Look for certification to relevant lighting standards, such as IEC 60598-1 or UL 1598, depending on the installation market. Tip 4: Verify the certificate number with the testing body. Tip 5: Check operating temperature limits. A hot ceiling can shorten driver life. Tip 6: Read the warranty exclusions carefully. A five-year warranty may cover replacement parts, but exclude labor, corrosion, or installation errors. That is easy to miss.

Calculate total cost, not purchase cost. The International Energy Agency continues to identify LED efficiency as a major source of lighting energy savings, but actual savings depend on controls and operating hours. Tip 7: Estimate annual electricity cost using wattage, hours, and local tariffs. Tip 8: Add lift access, replacement labor, disposal, and downtime. Tip 9: Compare warranty length with expected maintenance. Tip 10: Request photometric files and maintenance data. One imperfect assumption can distort the whole calculation. Recheck it.

10 Tips for Choosing Tri Proof Ceiling Lights - Review Lifespan, Certifications, Warranty, and Total Cost

No. Selection Tip What to Check Practical Benchmark Why It Matters Typical Evidence Cost or Risk Impact
1 Verify rated lifespan Check the LED life rating and the stated operating conditions. Prefer a rated life of at least 50,000 hours, supported by an LM-80/TM-21 evaluation where applicable. A longer rated life can reduce replacement labor and access-equipment costs. LED lifetime statement, lumen-maintenance report, test conditions, and ambient-temperature limits. Lower maintenance frequency; unsupported claims increase replacement risk.
2 Confirm ingress protection Review the IP rating for dust and water resistance. IP65 is a common minimum for dusty or damp indoor locations; IP66 may be preferable for frequent washdown exposure. The first digit addresses dust protection; the second addresses water protection. Independent IP test report or certification referencing IEC 60529. Insufficient protection can cause corrosion, leakage, driver failure, and downtime.
3 Check impact resistance Look for an IK rating when the fitting may be hit by equipment or stored goods. IK08 is a useful target for many commercial and industrial areas; select a higher rating for severe impact zones. A stronger housing and diffuser can reduce breakage and exposed electrical parts. Impact-test documentation referencing IEC 62262. Higher initial cost may prevent repeated diffuser or fixture replacement.
4 Review electrical certifications Ensure the product is tested for the installation market and voltage system. Look for applicable conformity documentation, safety testing, EMC compliance, and a clearly marked input range such as 220–240 V AC or 100–277 V AC. Certification helps demonstrate that electrical, thermal, and electromagnetic requirements were evaluated. Declaration of conformity, safety test report, EMC report, and traceable product marking. Non-compliant products may fail inspection, insurance review, or workplace safety requirements.
5 Compare efficacy and light output Compare delivered lumens with input watts, not wattage alone. A practical modern LED range is approximately 110–160 delivered lumens per watt, depending on optics, temperature, and certification conditions. Higher efficacy can provide the required illumination with lower electricity use. Photometric report, lumen output, wattage, beam distribution, and test temperature. A 40 W fixture operating 4,000 hours per year uses about 160 kWh annually.
6 Evaluate color quality Review color temperature, color rendering, and consistency. Use 4,000–5,000 K for many work areas; CRI 80+ is a common baseline, while CRI 90+ suits inspection or color-critical tasks. Appropriate color quality improves visibility, comfort, and visual task accuracy. IES or equivalent photometric data, CRI value, CCT tolerance, and color-consistency information. Poor consistency may cause a patchy appearance and require earlier replacement.
7 Inspect thermal design Check the housing material, driver temperature rating, and installation clearance. Prefer a metal heat-spreading body, documented operating temperature, and a driver rated for the expected ambient range. Excessive heat accelerates LED lumen depreciation and shortens electronic-component life. Thermal test data, maximum ambient temperature, and installation instructions. Poor heat management can make the claimed lifespan unrealistic in actual use.
8 Read the warranty carefully Confirm coverage period, exclusions, labor terms, and claim procedure. A 3–5 year limited warranty is a useful comparison range; verify whether it covers the driver, LEDs, housing, and shipping. Warranty terms indicate the supplier’s expected service commitment but do not replace test evidence. Written warranty document, service contact, serial-number requirements, and replacement policy. A longer, clearer warranty can reduce financial exposure after early failure.
9 Calculate total cost of ownership Include purchase, installation, electricity, maintenance, disposal, and access equipment. Use: total cost = purchase + installation + energy + maintenance + disposal − residual value. The lowest purchase price may not be the lowest cost over the operating period. Energy tariff, annual operating hours, fixture wattage, labor rate, and expected replacement interval. For example, 40 W used 4,000 hours annually consumes 160 kWh before electricity-rate calculations.
10 Assess installation and serviceability Check mounting hardware, wiring access, emergency options, dimming compatibility, and spare-part availability. Prefer secure mounting, clear wiring instructions, suitable terminal blocks, and replaceable or serviceable drivers where permitted. Straightforward installation reduces labor time and helps limit future downtime. Installation manual, wiring diagram, photometric file, spare-part list, and disposal guidance. Difficult access or unavailable parts can increase lifetime maintenance costs.
Evaluation note: Figures are practical comparison benchmarks rather than universal requirements. Confirm local electrical codes, environmental conditions, illumination levels, and project-specific certification needs before purchase.